Select Domain Name and Password
Select your domain name and know the domain administrator password that you want to use.Note: Your domain name should be reliably unique. Do not use the same domain as your website, for example, and avoid extensions like “.local” unless you have registered that domain name in DNS. We suggest a domain name that is not used for anything else, like "internal.example.com"..
Specify the Preferred DNS Server
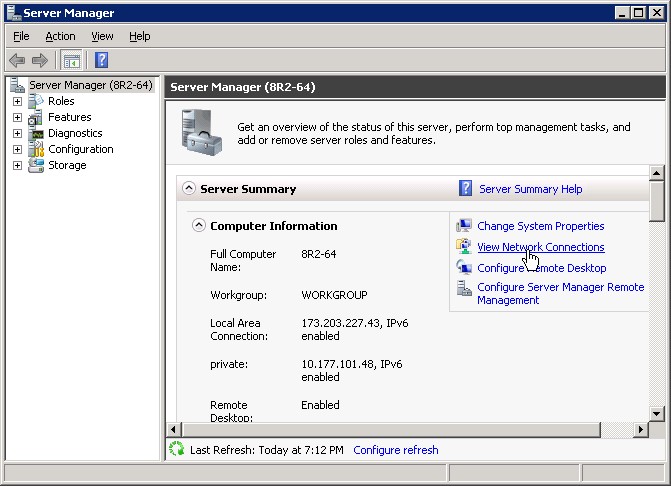
Windows Server 2008 can properly install and configure DNS during the AD DS installation if it knows that the DNS is local. You can accomplish this by having the private network adapter’s preferred DNS server address point to the already assigned IP address of the same private network adapter, as follows:- From the Windows Start menu, open Administrative Tools > Server Manager.
- In the Server Summary section of the Server Manager window, click View Network Connections.
3. In the Network Connections window, right-click the private adapter and select Properties.
.jpg)
.jpg)
.jpg)
Click OK in the Properties dialog box, and close the Network Connections window.
The last step for prepping W2K8 for AD is adding the proper Server Role. The “Active Directory Domain Services” Role will be added. This only installs the framework for W2K8 to become a DC and run AD. It does not promote the server to DC or install AD.
Create a New Account in Active Directory
1. To start let’s go ahead and open up Server Manager
2. Next we will open up the Roles section, next to Active Directory Users and Computers section and finally the Active Directory Users and Computers. You should now see your domain name.3. We are going to click on our Users section where we are going to create a new User Account. To do so, right-click on the blank section, point to New and select User.

4. In this window you need to type in the user’s first name, middle initial and last name. Next you will need to create a user’s logon name.
In our example we are going to create a user account for Billy Miles and his logon name will be miles. When done, click on the Next button.

In our example we are going to have the user change his password at his next logon. You can also prevent a user from changing his password, set the password so that it will never expire or completely disable the account.
When you are done making your selections, click the Next button.

6. And finally, click on the Finish button to complete the creation of new User Account.
No comments:
Post a Comment
Note: only a member of this blog may post a comment.