First you have to login to your server with administrator password. go to the active directory window in server manage.
Once we’re inside the Active Directory Users and Computers snap-in, we’ll need to expand the domain in which we want to create the user, and right-click on the Users folder. We’ll then select New User.

The New Object – User box will pop up and require you to put in
the user’s name and create the user logon. You’ll need to use a
standard method of creating user logon names, as this will cause much
less confusion in the future. If you have a small network, you may want
to just stick to using the first initial and last name because it’s
shorter. If you anticipate that your network will grow quite large, the
standard advice is to use the full first and last name separated by a
period, as we’ve done below.


Once we’ve created a user, there are many things that we’ll need to do
with them in order for them to be useful, like adding permissions and
security groups, but at least the operation for spawning them is simple
and straightforward.
Assigning Permission
Ownership may be taken, when permitted, using the properties dialog of
the file or folder in question. This can be accessed by right clicking
on the file or folder in Windows Explorer, selecting Properties from the menu and then clicking on the Security tab. On the Security page of the properties dialog, click on the Advanced button to access the Advanced Security Settings dialog and then select the Ownership tab to display the following dialog:
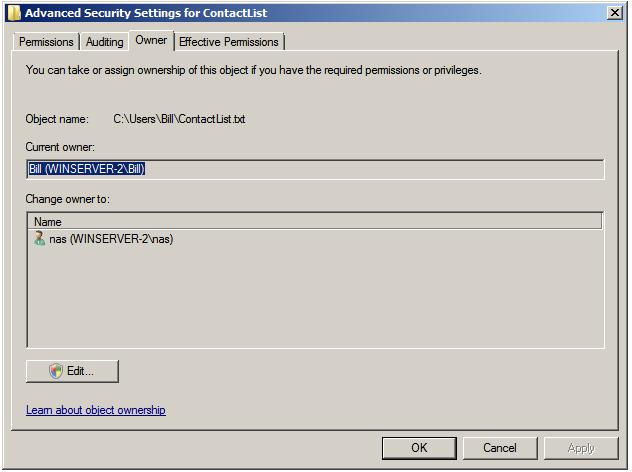
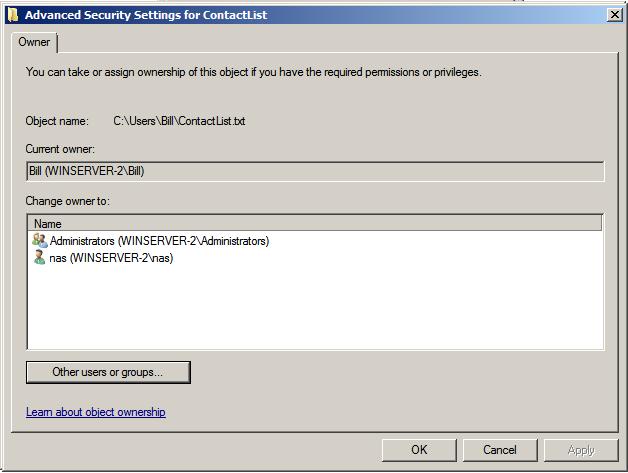
To take ownership, select your user name from the list and click on Apply. To transfer ownership to a different user, either select the name from the list, or search for the user by clicking on the Other users or groups... button. Select the required user and click on Apply to commit the transfer.
No comments:
Post a Comment
Note: only a member of this blog may post a comment.